
Scones are by far my favorite indulgence on a Saturday morning. If you have never made these sweet biscuits, they are so fun to make and can be enjoyed for 2 or 3 days before expiring.
I have been baking Gluten Free for 15 years now. I suffer from Celiac disease and gluten makes me very sick. Sometimes, especially in the beginning of the diagnosis, it was extremely difficult to find a really good gluten free flour. Most of the recipes, called for all different types of flour (oat, rice, etc), and often times, you had to mix different types of flours together to make your own flour mixture and it even that varied depending on the recipe. But alas!!!!( just a medieval reference to the name of my favorite flour ever! Now, I have found the perfect flour mix that can be substituted for any regular flour recipe, cup for cup in any recipe! It’s amazing! (This is not a sponsored post by King Arthur Gluten Free measure for measure flour, but you can be assured that even if it was, my opinions are always my own and this brand is so good, I would swear my undying love and devotion! 😉
Tips & Tricks
If you haven’t eaten a scone before, I would describe the texture as a soft cookie or moist sweet biscuit. A scone should not be a dry flour biscuit texture but one that melts in your mouth and is a bit crumbly. The best way to achieve this texture is the right amount of cream and cold butter. Make sure not to over mix your dough or it could be too dense and tough.
If you have never made scones before, well, you are in for a treat, because they are easy and fast, especially on a lazy weekend morning! The scones will last up to 2 days at room temperature and 4 days in the fridge. If you choose to refrigerate them, you can always pop them in the microwave for 10 to 12 seconds and they will warm for you again. I prefer mine at room temperature and 2 days is long enough because they never last too long around my house anyway.
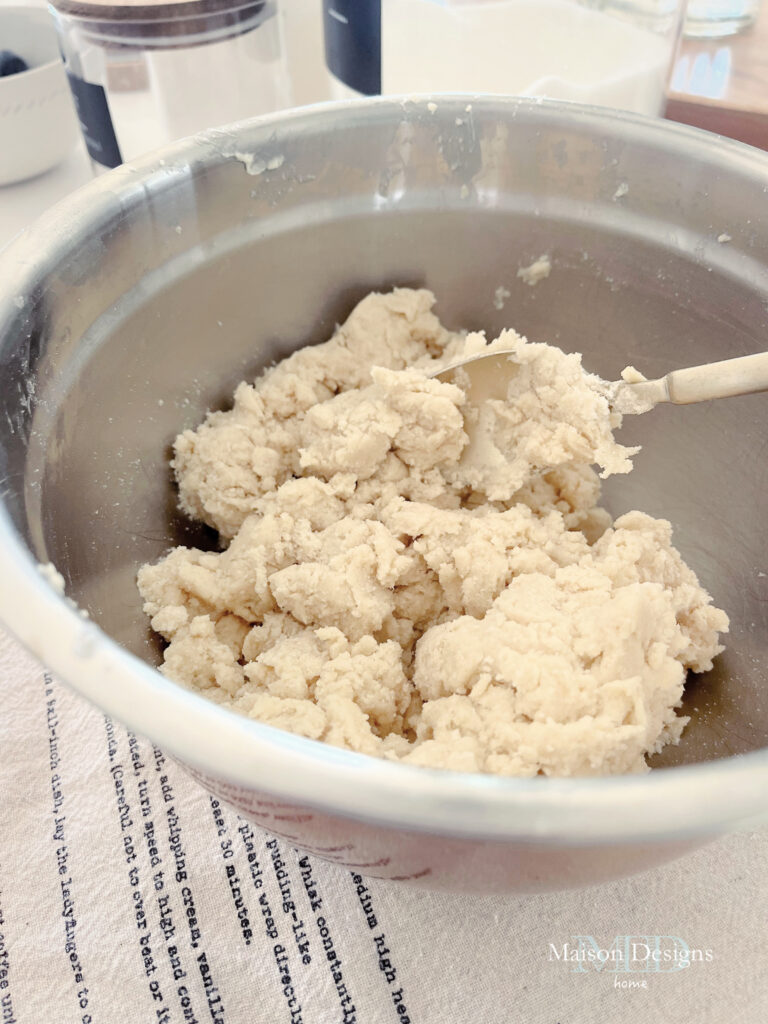
Here is a look at what the dough should look like when it is properly mixed and shaped:
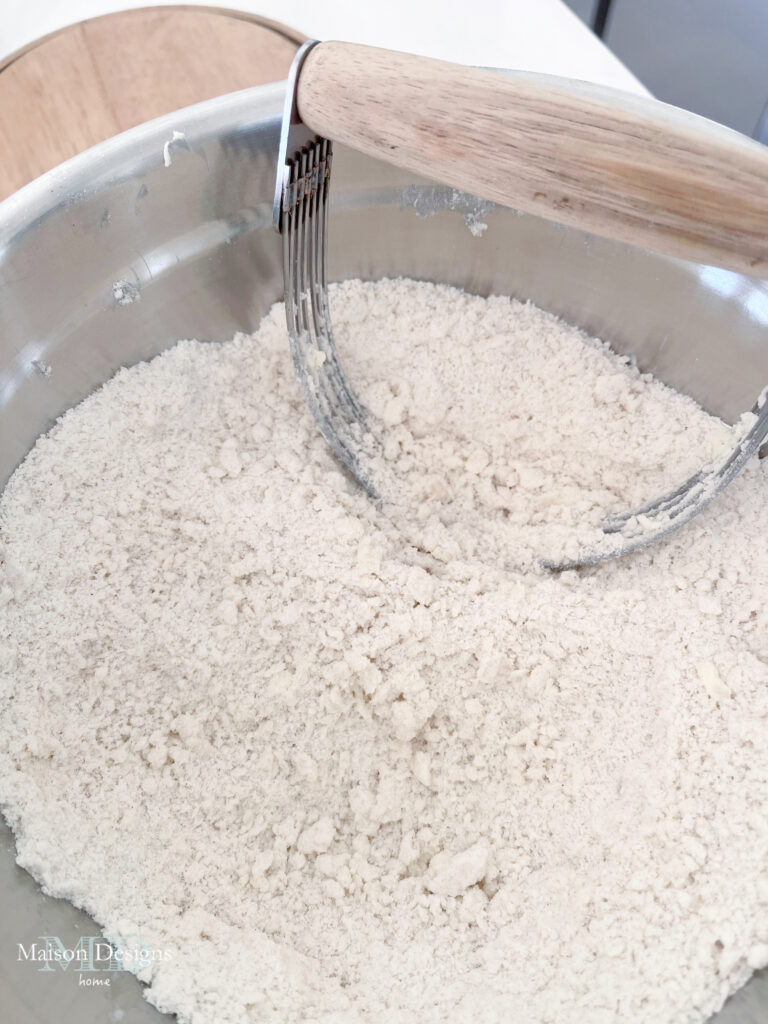
Remember, you want to grate your cold better and keep it cold until ready to mix. Once you have mixed your butter it should look like pea sized crumbs. And finally, once you add your oat milk (I use Oatly because it is certified gluten free or heavy cream, the mixture should quickly form a dough (so be sure not to over mix). Now you are ready to shape into a round disc of about 6 to 8 inches think before cutting. I use a pizza cutter because I feel like it is a cleaner cut than a knife, but either will work fine, just make sure it is sharp. Now you can cut your dough it into wedges like a pizza crust and you are ready to bake.
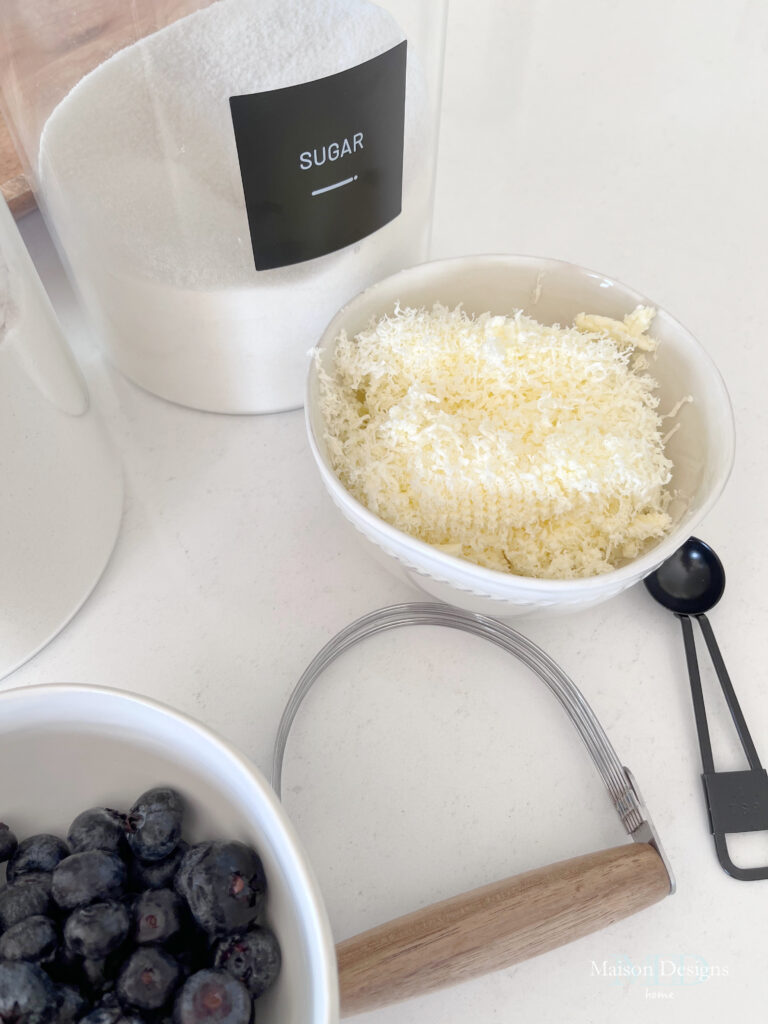
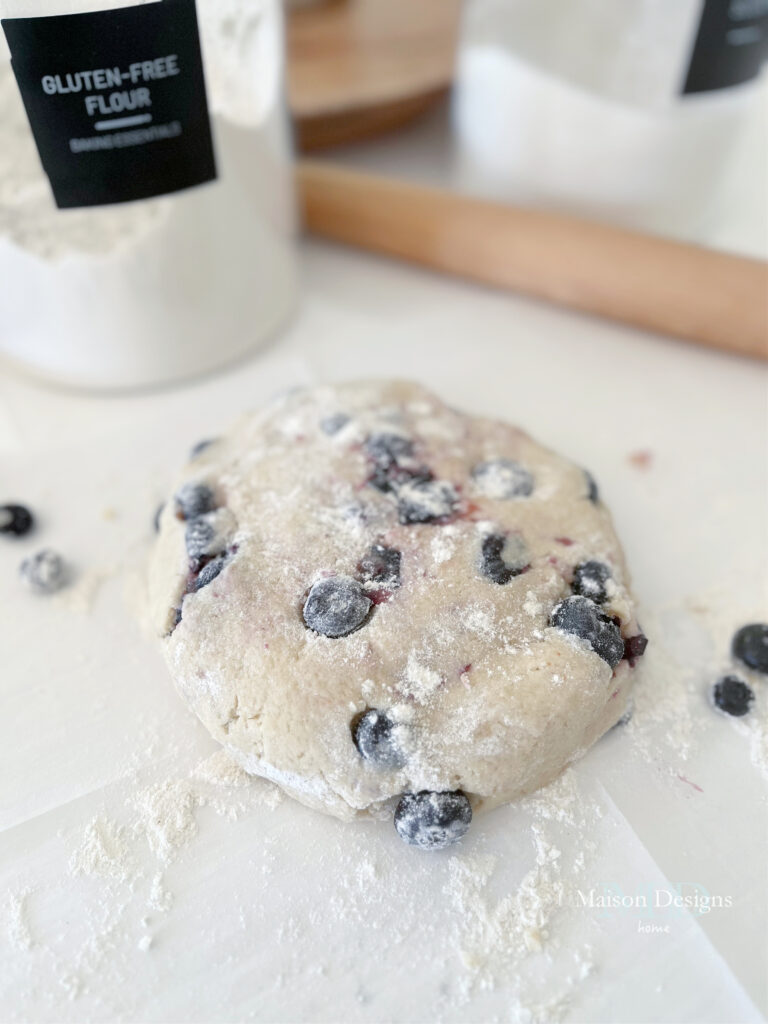
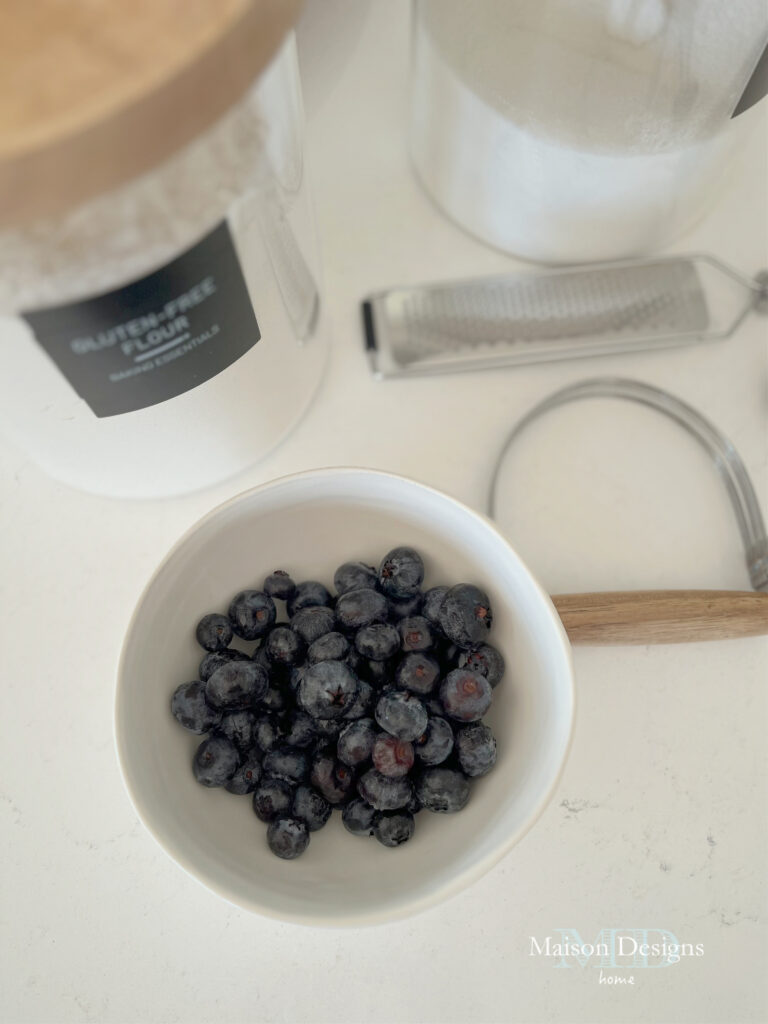
The recipe is easy and will take you about 12-15 minutes to make before baking in the oven. I use parchment paper to sprinkle my GF flour down before shaping the dough on the counter, especially with blueberries, which can stain counters easily depending on the material. You can follow these recipe cards for the full recipe and directions!


Hope you enjoy these Gluten Free scones! I have tried many Gluten Free flours over the years and this one is the most like regular flour that I have ever used! They also have several mixes that are so good that I get requests to make them from friends who are not Gluten Free.
A cup of tea or coffee to enjoy with your scones really is a must!

And one last note, this recipe can be used with any regular flour and it will work out just as well so if you aren’t gluten free, then you can substitute your flour of choice.
Enjoy friends!
 Gardens @ The European Farmhouse
 Designing Our European Farmhouse
 Patio Gardens @ The European Farmhouse
Wow! The scones look delicious! I’m going to try these. I too love King Authur flour.